")
Features
1 sec. fast curing.
3 Distinct Modes: Standard mode, pulse mode and progressive mode
Stable output power guarantees constant light so that the solidification effect is not affected by the consumption of remaining power
Parallel light ensures more focused output energy and better solidification effect.
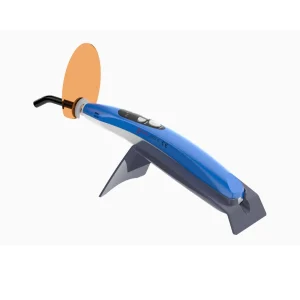
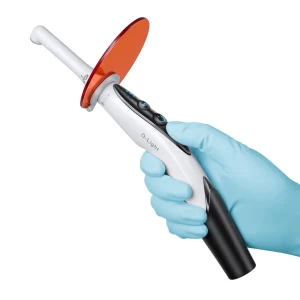
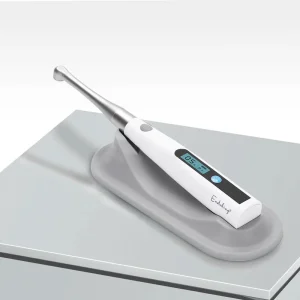
Ergonomic design, excellent and comfortable handle feel during the treatment
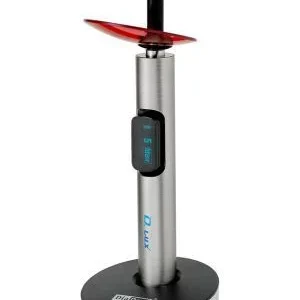
Light source featuring 360-degree rotation to realize curing from all directions
Replaceable large capacity Lithium battery
Auto power-off.
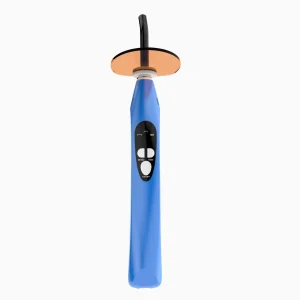
DescriptionEndoking cordless iCure Light Cure Unit delivers maximum light intensity safely and consistently.
This light cure unit is light in weight with 3 Program Modes and easy to handle that makes working with it easy and more efficient.
Program: P1
Curing time – 5s,10s,15s,20s
Intensity (mw/cm3) – 800-1000
Mode – Standard Mode
Program: P2
Curing time – 5s,10s,15s,20s
Intensity (mw/cm3) – 800-1000
Mode – Pulse Mode
Program: P3
Curing time – 1s, 3s
Intensity (mw/cm3) – 1000-1200
Mode – Progressive Mode
Indications:
Curing of Light cure Composites, Glass Ionomers & Liners?
For bleaching procedure
Other dental materials that are curable by light.
Key Specifications
Dimension : 25 mm x 240 mm
Weight : 278g
Battery Voltage : 3.7 V
Capacity : 1050 mAH
Power Input AC : 100V – 240V, 50 Hz – 60 Hz
Wave Length : 450nm – 455 nm
Light Intensity : 800 mW/cm??- 1400 mW/cm?
Packaging
1 x Light Cure Unit
1 x Silicon Base
1 x Charger Plug
1 x Charging Wire
1 x Shade Plate
20 x Isolation Sleeves
Direction to Use
Activate the curing light by pressing the ON switch.
The curing light is preset in the factory to the ?Standad? mode for 10 seconds.
Press and hold the TIME/MODE switch for 2 seconds to change the mode. Press the TIME/MODE switch repeatedly to locate the desired time for the “Standard” “Pulse”or “Progressive” mode.
Every start and end of a programme or every change of time or mode,will be signaled with a ?beep?.
Put on the disposable curing light sleeve to cover the entire curing light for cross infection control.
Put the protective light shield onto the light guide tip until it is firmly held on the curing light. The curing light is now ready for use
Warranty


Reviews
There are no reviews yet.